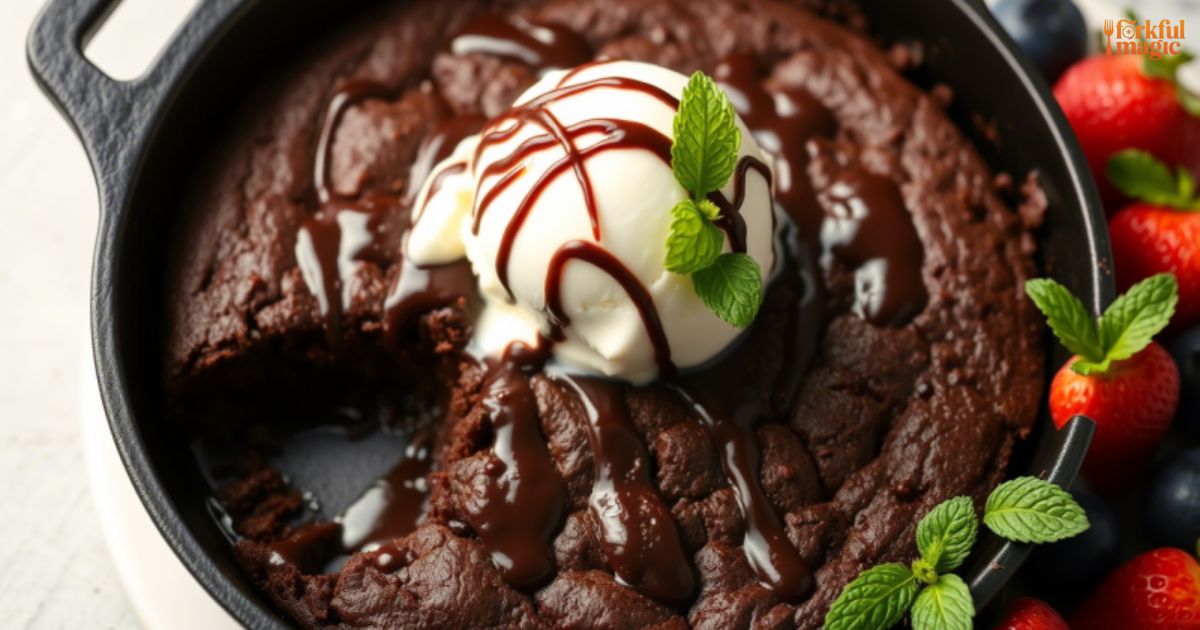
When I first tasted a chocolate skillet cake, I was blown away. It was a lazy Sunday afternoon, and the aroma wafting from the kitchen was intoxicating. The cake was warm, gooey, and paired perfectly with a scoop of ice cream. It felt like a warm hug after a long week. If you’re looking to impress your friends or just treat yourself, this is the recipe for you.
This chocolate skillet cake is unique for several reasons. First, it’s made directly in a skillet, which gives it that rustic, homey vibe. Second, the combination of warm chocolate cake with cold ice cream creates a delightful contrast. It’s comfort food at its finest, ideal for any occasion.
Ingredients & Substitutions
Let’s dive into the ingredients. You’ll need:
- 1 cup all-purpose flour: If you’re gluten-free, almond flour works well too.
- 1 cup granulated sugar: Brown sugar can add a deeper flavor if you prefer.
- 1/2 cup unsweetened cocoa powder: Opt for Dutch-processed for a richer taste.
- 1 tsp baking soda: This helps the cake rise. Don’t skip it!
- 1/2 tsp salt: Enhances all the flavors, trust me.
- 1/2 cup unsalted butter: You can use coconut oil for a dairy-free option.
- 1/2 cup buttermilk: If you don’t have buttermilk, mix milk with a splash of vinegar.
- 2 large eggs: They add moisture and richness. Replacing with flax eggs works too for a vegan version.
- 1 tsp vanilla extract: Always go for pure extract, it makes a difference.
- 1/2 cup chocolate chips: Use dark chocolate for a more sophisticated flavor.
Choosing quality ingredients is key. Fresh eggs and high-quality chocolate chips can elevate your cake from good to fantastic.
Step-by-Step Instructions
1. Preheat Your Oven
Start by preheating your oven to 350°F (175°C). This step is crucial; you want that even heat for a perfectly baked cake.
2. Prepare the Skillet
Grease your skillet with butter or oil. This prevents sticking. If you’re using a cast-iron skillet, the seasoning will also add flavor.
3. Mix the Dry Ingredients
In a large bowl, whisk together the flour, sugar, cocoa powder, baking soda, and salt. Don’t just dump them in; whisking incorporates air, which gives your cake a lighter texture.
4. Melt the Butter
In a separate bowl, melt the butter in the microwave or over low heat. Let it cool slightly before mixing in the buttermilk, eggs, and vanilla.
5. Combine Everything
Pour the wet ingredients into the dry ingredients. Gently fold until just combined. Overmixing can lead to a dense cake, and nobody wants that.
6. Add Chocolate Chips
Stir in the chocolate chips. Make sure they’re evenly distributed, so you get pockets of melted chocolate in every bite.
7. Bake
Pour the batter into the prepared skillet. Bake for about 25-30 minutes, or until a toothpick comes out with a few moist crumbs.
Common Mistakes to Avoid
- Overmixing the Batter: This can lead to a tough texture.
- Not Preheating the Oven: Your cake may not rise properly.
- Skipping the Skillet Greasing: You’ll end up with a cake that sticks.
Variations
For a richer experience, add a teaspoon of espresso powder to enhance the chocolate flavor. Want a twist? Fold in some chopped nuts or swirl in peanut butter before baking.
Cooking Techniques & Science
Baking is all about chemistry. When you mix wet and dry ingredients, you activate gluten. That’s why you need to be gentle—too much mixing and gluten becomes chewy.
Using a skillet is not just for aesthetics; it provides even heat distribution. The cast iron retains heat well, giving you that beautifully caramelized edge.
Tools You’ll Need
A sturdy whisk, a good mixing bowl, and a reliable skillet are essential. A digital thermometer can help ensure your cake is perfectly baked.
Serving & Pairing Suggestions
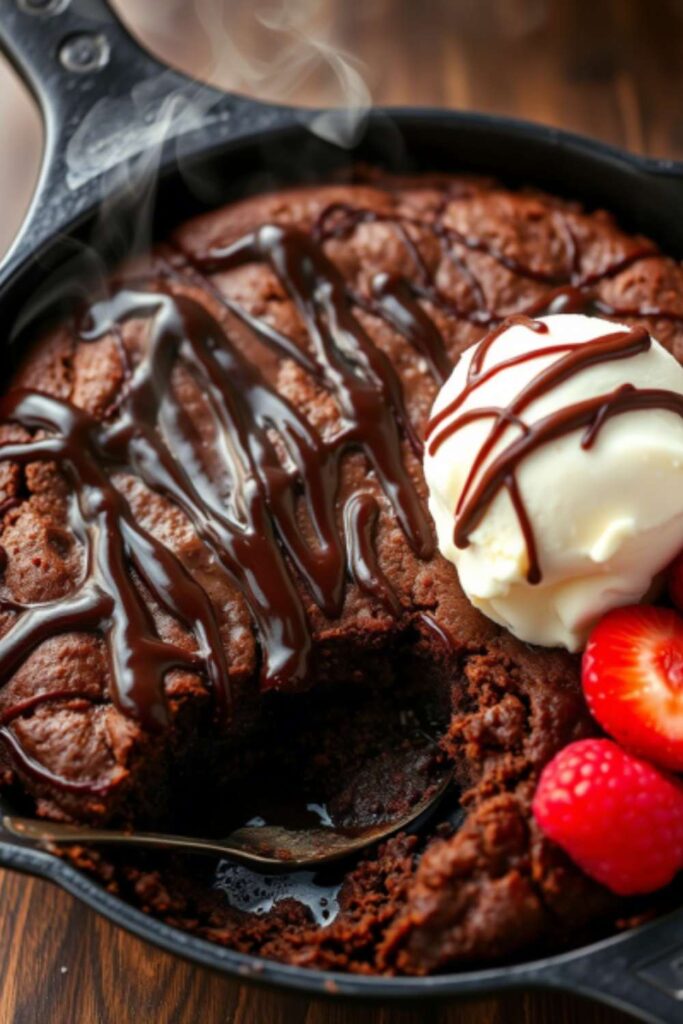
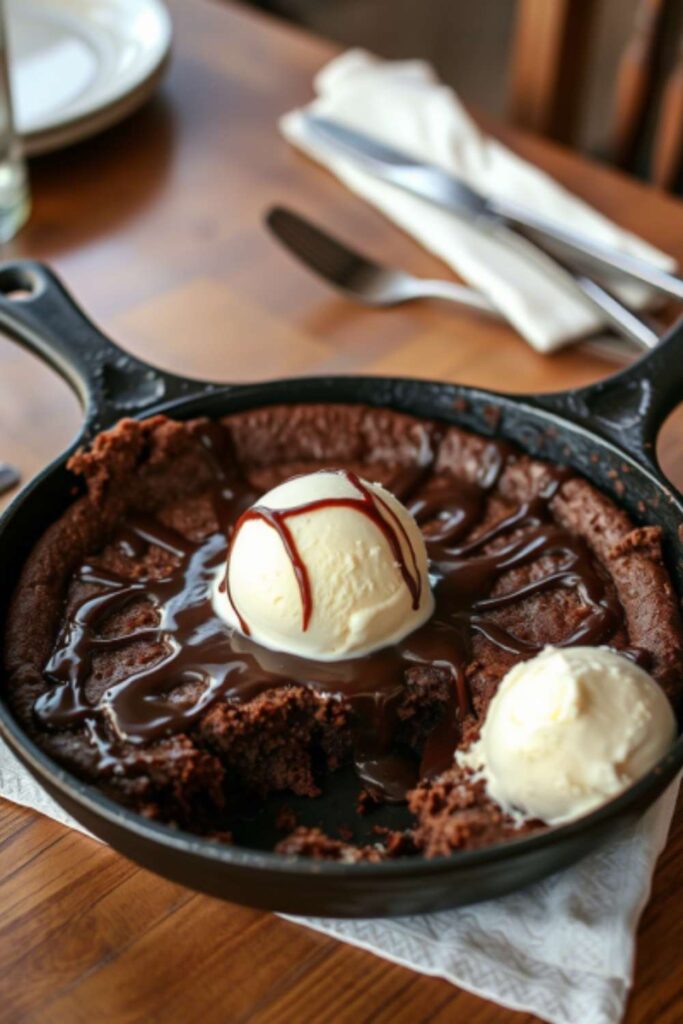
Once your cake has cooled slightly, serve it warm, topped with a generous scoop of vanilla ice cream. The combination of warm cake and cold ice cream is simply divine.
For an extra touch, drizzle some chocolate sauce or sprinkle with sea salt. If you’re feeling fancy, add fresh berries on the side.
Pair this dessert with a rich coffee or a glass of dessert wine. Both complement the chocolate beautifully.
Conclusion
This chocolate skillet cake is a showstopper. With its warm, gooey center and crispy edges, it’s a treat that brings joy to any gathering. Remember, quality ingredients and gentle mixing will yield the best results.
Get creative with variations and toppings. Make it your own!
FAQs
1. Can I make this cake ahead of time?
Yes, you can bake it in advance, but it’s best served warm. Reheat gently in the oven.
2. What if I don’t have a skillet?
You can use any oven-safe baking dish, but keep an eye on the baking time.
3. How do I store leftovers?
Keep them in an airtight container at room temperature for up to three days.
4. Can I freeze the cake?
Absolutely! Wrap it tightly and freeze for up to three months. Thaw before reheating.
5. What’s the best way to reheat it?
Warm slices in the oven at low heat until just warmed through.
So, roll up your sleeves, gather those ingredients, and get ready to indulge in a delightful chocolate experience! Bon appétit!