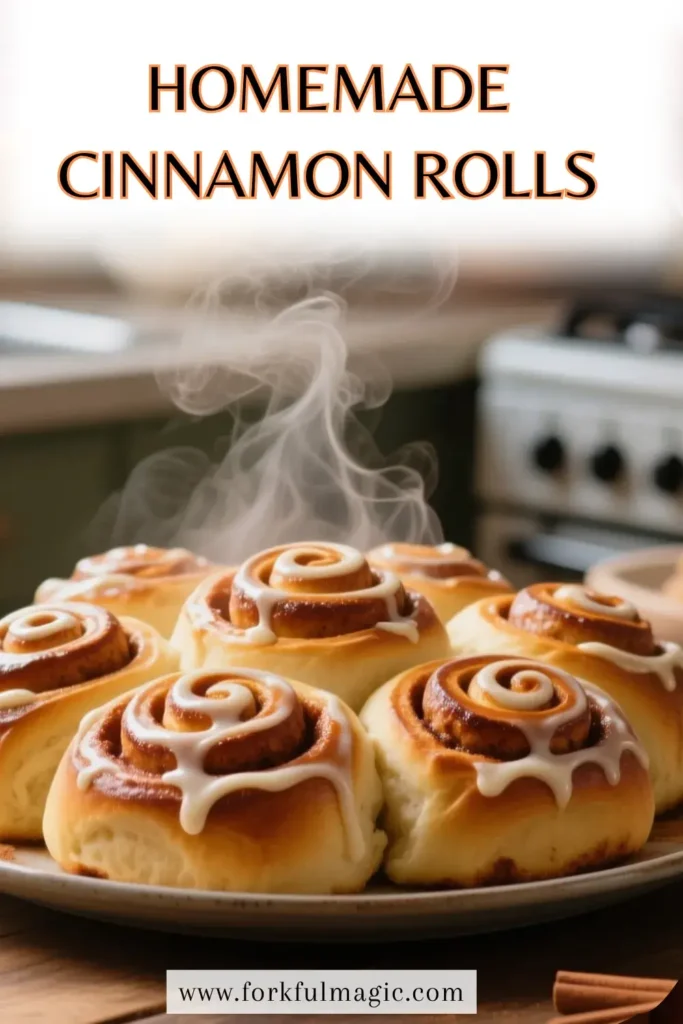
There’s just something magical about the aroma of homemade cinnamon rolls wafting through your kitchen. It takes me back to my childhood—waking up on a lazy Sunday morning, the warm scent enveloping the house like a cozy hug. But what makes these rolls truly special? It’s all in the process, the ingredients, and the love you pour into them. Let’s dive into the art of creating these delightful treats.
What Makes Homemade Cinnamon Rolls Special?
Homemade cinnamon rolls are more than just a breakfast item; they’re an experience. The soft, fluffy dough, the sweet and spicy filling, and the luscious icing come together to create a symphony of flavors and textures. Each bite is a burst of sweetness, with that hint of warm spice from the cinnamon. Plus, there’s a certain satisfaction that comes from making something from scratch. It’s a labor of love that pays off in delicious rewards.
Ingredients & Substitutions
Let’s gather what we need. Here’s a handy list of ingredients, organized by their use in the recipe:
- For the Dough:
- 4 cups all-purpose flour (you can use bread flour for a chewier texture)
- 1/2 cup granulated sugar
- 1 packet (2 1/4 tsp) active dry yeast
- 1 cup milk (whole milk is best, but almond or soy milk works too)
- 1/3 cup unsalted butter (melted, but coconut oil is a great dairy-free option)
- 2 large eggs
- 1/2 tsp salt
- For the Filling:
- 1/2 cup brown sugar (light or dark, depending on your preference)
- 2 tbsp ground cinnamon
- 1/4 cup unsalted butter (softened, or use a plant-based spread for dairy-free)
- For the Icing:
- 1 cup powdered sugar
- 2 tbsp milk (or a non-dairy alternative)
- 1/2 tsp vanilla extract
Ingredient Insights
When you’re choosing your flour, consider the protein content. Bread flour has more protein, yielding a chewier roll, while all-purpose flour will give you a softer texture. Fresh cinnamon really makes a difference in flavor, so if you can, seek out high-quality, freshly ground cinnamon. It adds depth that pre-ground spices just can’t match.
Step-by-Step Instructions
Ready to roll? Here’s how to make these delightful cinnamon rolls.
- Prepare the Yeast Mixture:
In a small bowl, combine the warm milk (about 110°F), sugar, and yeast. Let it sit for about 5-10 minutes until it’s frothy. This step is crucial—if the yeast doesn’t bubble up, it’s not active and your rolls won’t rise. - Make the Dough:
In a large mixing bowl, combine flour and salt. Pour in the yeast mixture along with melted butter and eggs. Mix until a dough forms. If it’s too sticky, gradually add more flour, one tablespoon at a time. - Knead the Dough:
Transfer the dough to a lightly floured surface. Knead for about 5-7 minutes until smooth and elastic. This develops the gluten, which is key for that fluffy texture. - First Rise:
Place the dough in a greased bowl, cover with a damp cloth, and let it rise in a warm place for about 1 hour or until doubled in size. - Prepare the Filling:
While the dough rises, mix the brown sugar and cinnamon in a small bowl. Spread the softened butter over the rolled-out dough. - Roll it Up:
Sprinkle the cinnamon-sugar mixture evenly over the buttered dough. Starting from one end, roll the dough tightly into a log. - Cut the Rolls:
Slice the log into 12 equal pieces. Use a sharp knife or dental floss for clean cuts. - Second Rise:
Place the rolls in a greased baking dish, cover, and let them rise for another 30 minutes until puffy. - Bake:
Preheat your oven to 350°F. Bake the rolls for 25-30 minutes or until golden brown. - Make the Icing:
While the rolls bake, whisk the powdered sugar, milk, and vanilla together until smooth. - Glaze and Serve:
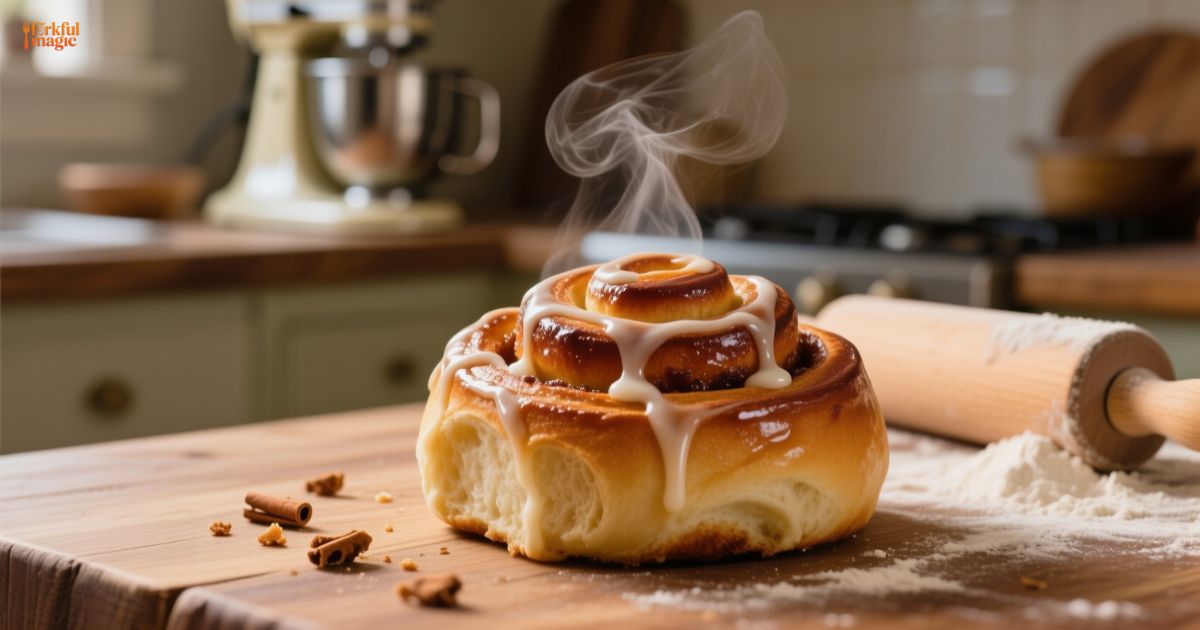
Once the rolls are out of the oven, drizzle the icing over them while they’re still warm.
Cooking Techniques & Science
Understanding the science behind each step enhances your skills. Kneading develops gluten, which traps air and helps the dough rise. The first rise (or bulk fermentation) allows for flavor development. When you bake, the sugar caramelizes, creating that beautiful golden color and rich flavor.
Using a thermometer can be a game changer. Yeast thrives at warm temperatures, but if it gets too hot, it dies. Always check your milk temperature before adding yeast.
Common Mistakes to Avoid
One common mistake? Overkneading the dough. It should be smooth and elastic, not tough. Also, be careful not to underbake. A gooey center isn’t what you’re aiming for.
If your rolls don’t rise properly, check your yeast. If it’s expired or not activated, your rolls will be dense.
Serving & Pairing Suggestions
Presentation matters. Serve your cinnamon rolls warm on a nice platter. A sprinkle of chopped nuts or a dusting of extra powdered sugar can add visual appeal. Pair them with a cup of rich coffee or a glass of fresh orange juice for a perfect morning treat.
Consider serving with a fresh fruit salad or yogurt for a balanced breakfast. The acidity of the fruit complements the sweetness of the rolls beautifully.
Conclusion
Homemade cinnamon rolls are a delightful way to elevate any morning. The process may seem daunting at first, but it’s truly rewarding. Each roll is a labor of love, and the warm, sweet aroma will fill your kitchen with joy.
Always remember: the key to success lies in the ingredients and techniques. Don’t be afraid to experiment—maybe add some nuts or swap in a different filling.
FAQs
Can I make cinnamon rolls ahead of time?
Absolutely! You can prepare the rolls and refrigerate them overnight before the second rise. Just let them come to room temperature before baking.
What can I use instead of active dry yeast?
You can use instant yeast. It doesn’t need to be activated in warm milk—just mix it directly with the dry ingredients.
How do I store leftover cinnamon rolls?
Store them in an airtight container at room temperature for up to 3 days, or in the fridge for up to a week. Reheat in the microwave for a warm treat.
Can I freeze cinnamon rolls?
Yes! Freeze them after the second rise. Just bake them straight from the freezer—add a few extra minutes to the baking time.
What’s the best way to reheat cinnamon rolls?
Microwave them for about 10-15 seconds or warm them in the oven at 350°F for about 5-10 minutes. Enjoy that fresh-baked taste again!