Ah, snowball cookies. Just the name evokes cozy winter memories. I remember my first time making these delightful treats with my grandmother. The kitchen filled with laughter and the sweet, buttery aroma of baking. It’s a cherished memory, one that I hope to recreate for you. Let’s dive into why this recipe is so special and how you can whip up your own batch of snowball cookies that’ll leave everyone wanting more.
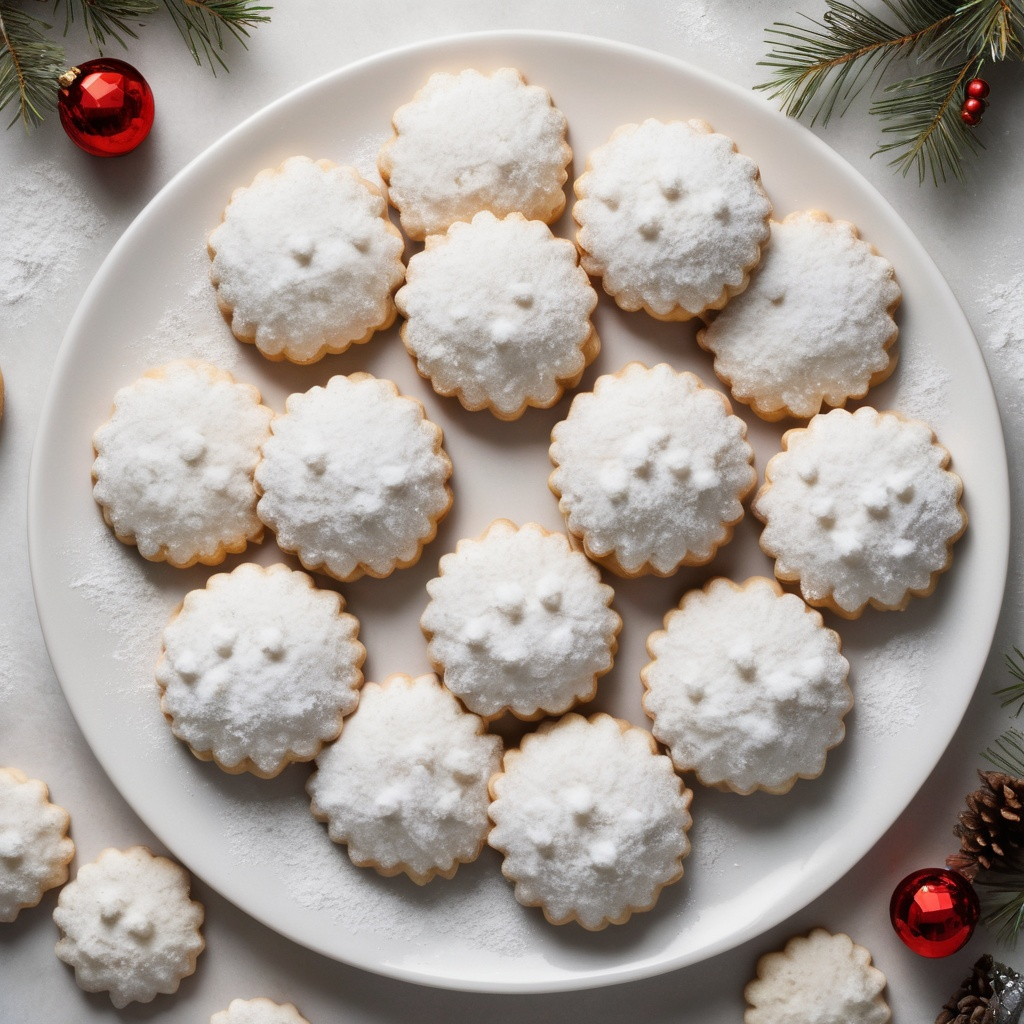
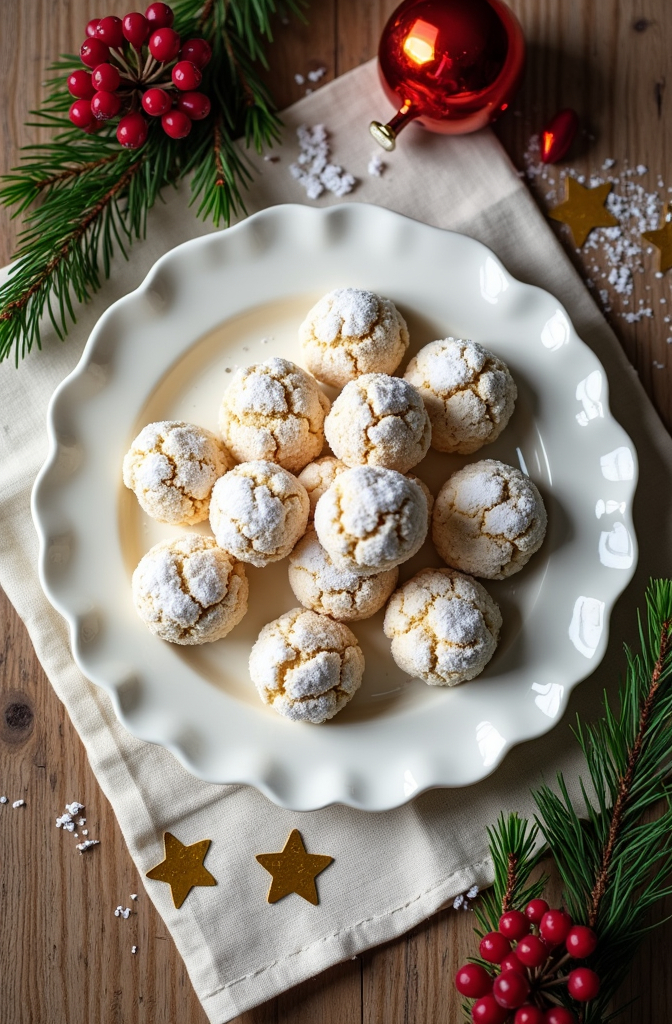
These cookies, also known as Russian tea cakes or Mexican wedding cookies, are loved for their melt-in-your-mouth texture. They’re simple, yet elegant. The combination of butter, sugar, and nuts creates a rich flavor, while the powdered sugar coating gives them that snowy appearance. Perfect for holiday gatherings, these cookies are a must-have on any festive dessert table.
Ingredients & Substitutions
To start, let’s gather our ingredients. Here’s what you’ll need:
- 1 cup (226g) unsalted butter, softened
This is the base of our cookies. Make sure it’s at room temperature for easy mixing. - 1/2 cup (60g) powdered sugar
This adds sweetness and helps create that signature crumbly texture. - 1 teaspoon vanilla extract
Fresh vanilla extract elevates the flavor. Skip the imitation stuff; you deserve better. - 2 cups (240g) all-purpose flour
This is essential for structure. For a gluten-free version, try almond flour. - 1/2 cup (60g) finely chopped nuts
Pecans or walnuts work well. If you’re nut-free, sunflower seeds can be a great alternative. - 1/4 teaspoon salt
Just a pinch enhances the flavors. - Extra powdered sugar for coating
Don’t skimp on this! It’s what makes them look like snowballs.
Ingredient Insights
Choosing quality ingredients makes a huge difference. Freshly chopped nuts provide better flavor than pre-packaged ones. Also, using unsalted butter allows you to control the saltiness. For those with dietary restrictions, consider coconut oil as a substitute for butter. It adds a unique flavor and is dairy-free.
Step-by-Step Instructions
Let’s roll up our sleeves and get baking!
- Preheat the Oven
Preheat your oven to 350°F (175°C). This ensures even baking. - Mix the Dough
In a large bowl, cream together the softened butter and powdered sugar until light and fluffy. This usually takes about 3-5 minutes. If you’re in a hurry, don’t rush this step. It’s crucial for texture. - Add Vanilla and Nuts
Mix in the vanilla extract. Then, fold in the flour, chopped nuts, and salt. The dough might seem crumbly at first, but don’t worry. It’ll come together. - Form the Cookies
Take small portions of dough and roll them into balls, about 1 inch in diameter. Place them on a baking sheet lined with parchment paper. Leave some space between each cookie; they spread a little while baking. - Bake
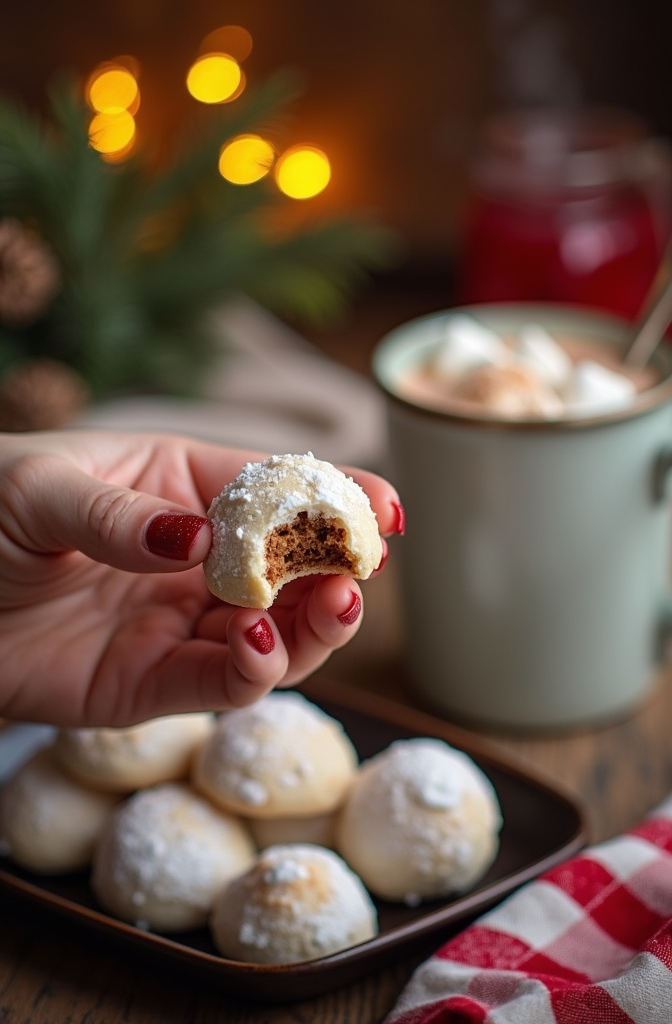
Bake for 10-12 minutes, or until the bottoms are lightly golden. Be careful not to overbake. You want them soft! - Cool and Coat
Let the cookies cool on the baking sheet for a few minutes, then roll them in powdered sugar while they’re still warm. This helps the sugar stick better.
Common Mistakes to Avoid
One common mistake is overmixing the dough. This can lead to tough cookies. Another is not letting the cookies cool enough before coating them in sugar. If they’re too hot, the sugar melts away.
Variations
Feel free to get creative! For a chocolate version, add cocoa powder to the flour. For a spicier twist, a pinch of cinnamon can be delightful. You might even try different nuts or a splash of almond extract for a unique flavor.
Cooking Techniques & Science
Understanding the science behind these cookies can elevate your baking game. Creaming butter and sugar creates air pockets, leading to a light texture. The flour provides structure, while the nuts add richness.
Also, let’s talk about temperature. Baking at the right temperature is crucial. Too hot, and they’ll brown too quickly; too cold, and they won’t spread properly.
Important Tools
A good mixing bowl and a sturdy baking sheet are essentials. Parchment paper helps with easy cleanup and prevents sticking. If you have a cookie scoop, use it for uniform sizes.
Serving & Pairing Suggestions
Presentation matters, even for cookies! Arrange them on a festive platter, dusted with extra powdered sugar for that snowy look. Pair these cookies with a warm cup of cocoa or a spiced chai tea. They also go great with a scoop of vanilla ice cream for a decadent dessert.
Conclusion
Snowball cookies are more than just a treat; they’re a celebration of warmth and joy during the holidays. With their simple ingredients and delightful flavor, they’re perfect for sharing with loved ones. Remember to play with variations and make this recipe your own.
Before you start, here’s a final tip: don’t stress! Baking should be fun. If something doesn’t turn out perfect, just enjoy the process and the delicious results. Happy baking!
FAQ’s
1. Can I make these cookies ahead of time?
Absolutely! You can make the dough and refrigerate it for up to a week. Just roll and bake when you’re ready.
2. How should I store leftover cookies?
Store them in an airtight container at room temperature for up to a week. They can also be frozen for longer storage.
3. What nuts work best for snowball cookies?
Pecans and walnuts are traditional, but feel free to experiment with almonds or even pistachios!
4. Can I use margarine instead of butter?
Yes, but be aware that it may change the flavor and texture slightly. Unsalted butter is preferred for the best results.
5. What if my dough is too crumbly?
If your dough seems too dry, add a teaspoon of water or milk at a time until it holds together better.